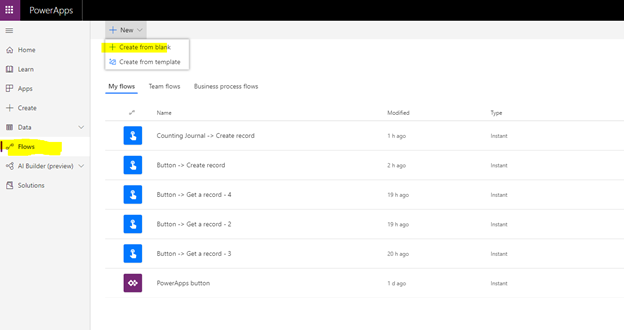
We create the Flow from the PowerApps main menu. Click the ‘Flows’ icon. Then click “+ New” at the top of the screen. A dialog pops up. Select here option “Create from blank”
Now we are ready for creating the first step for the flow. We select option “Manually trigger a flow”.
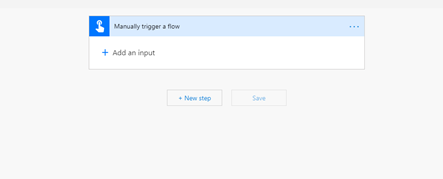
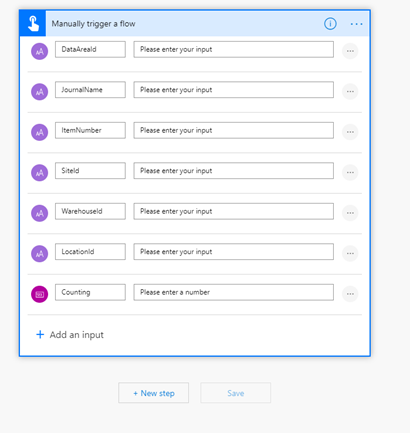
Now we need to configure the parameters we need for our counting journal. Click the “add an imput”. Now we see the following screen:
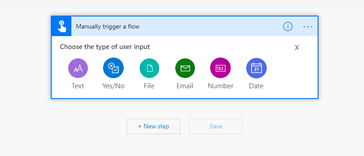
For our counting journal we need to add the following parameters:
Next step is that we choose an action. The next action is creating an action for creating a Dynamics 365 header for the journal journal. Select “Dynamics 365 for Finance and Operations”.
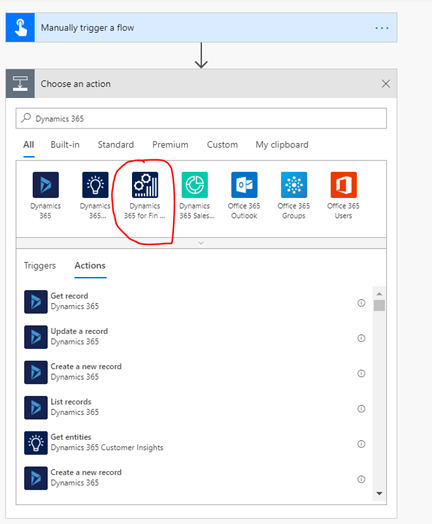
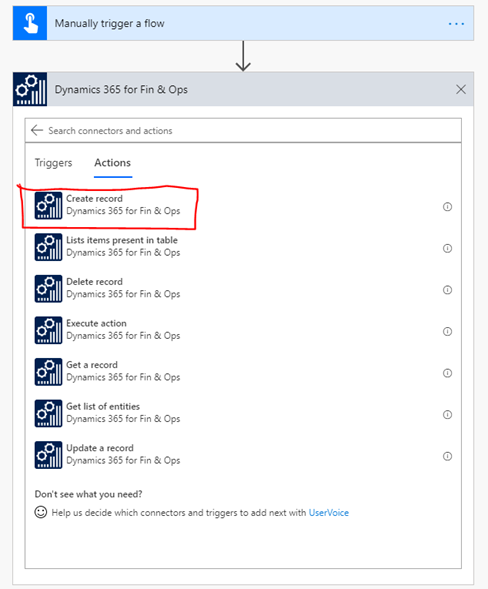
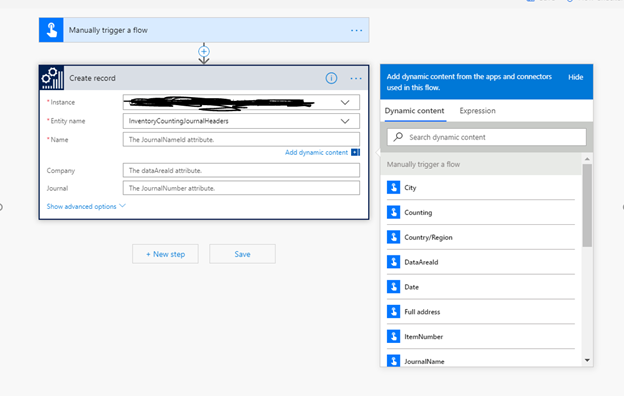
Now we can select an action. We choose “create record”.
Now we can insert the necessary parameters, instance, entity name plus the (mandatory) journal fields:
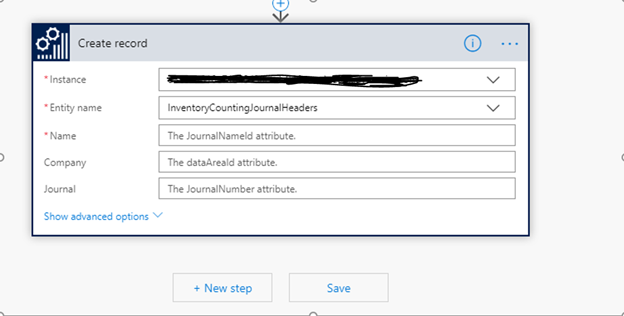
If we click any of the field names, a lookup appeared. Here we can find the given parameters from the manually trigger flow.
If we click “Show advanced Options” we see all the Dynamics 365 header fields. Now we can map the parameters from the manually trigger flow to a field in the Dynamics 365 counting journal header :
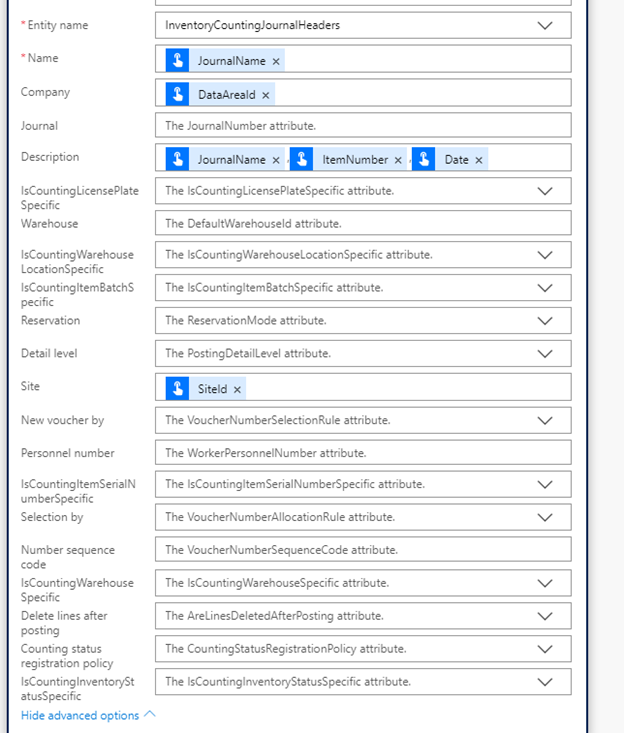
Btw we can select more values per field. To separate field values use a comma. For example:

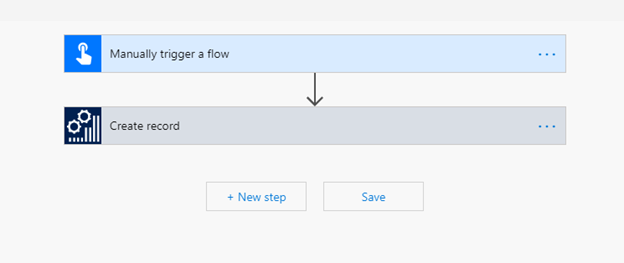
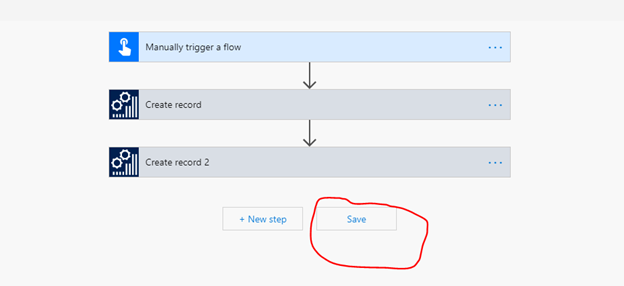
Now we are ready with this step. Click ‘save’.
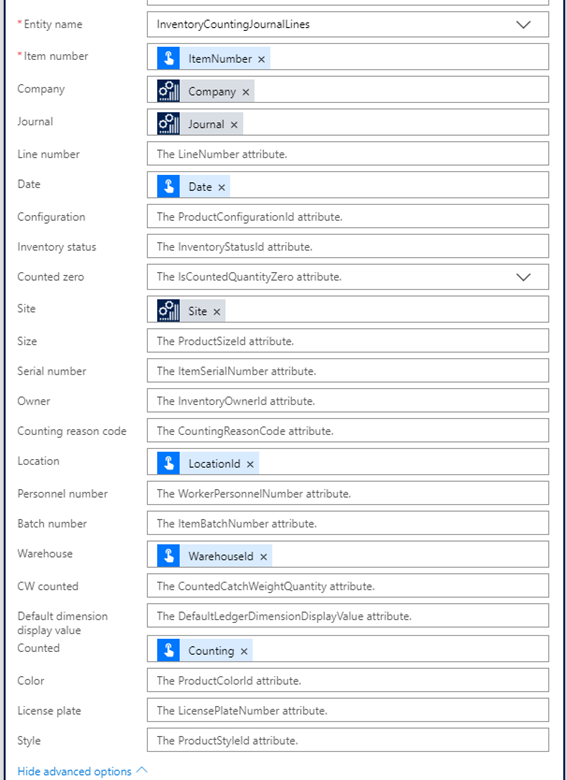
Now create a new step for posting the creating the Dynamics 365 Counting journal lines. We choose the entity name “InventoryCountingJournalLines”.
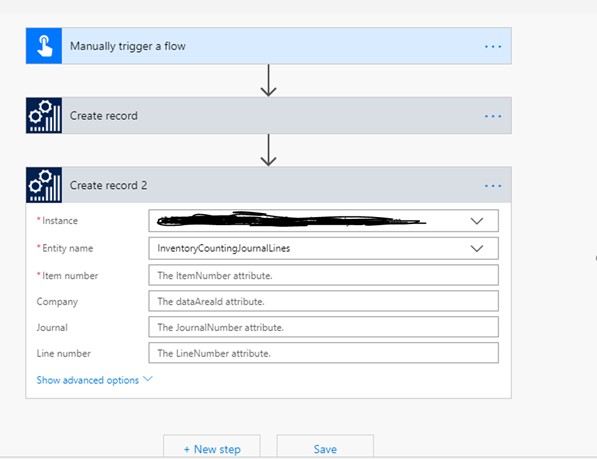
below is the mapping for the counting journal line. We see two types of icons. The blue point icon, means that the assigned variables are from the “Manually trigger a flow” entity which we created as first step. The other Dynamics 365 icons are coming from the Dynamics 365 header.
Save the flow.
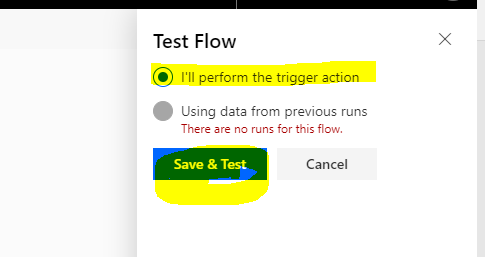
Now we can test the flow. Click the test icon at right top side in the screen.

Select the option I’ll perform the trigger action and clicj “Save & Test”:
Click continue.
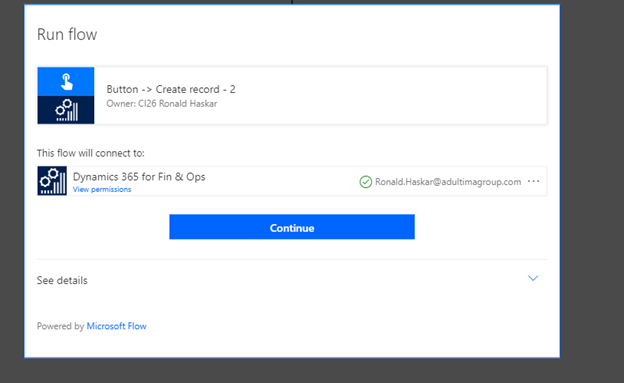
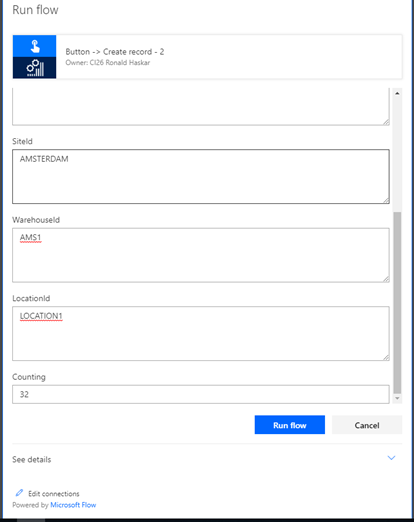
Enter all (required) parameters and click ‘Run flow’.
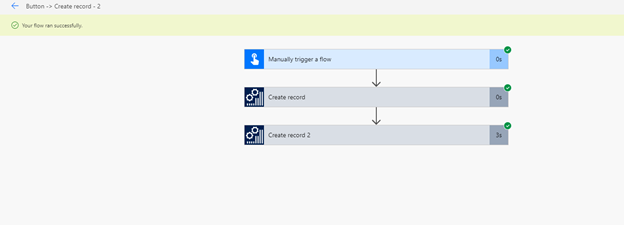
If the ‘run’ of the flow was succesful we will see the following:
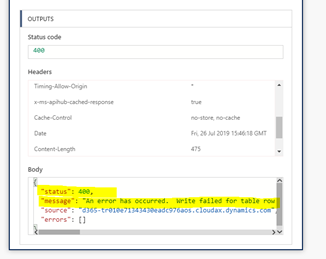
If not successful, we can check the reason why it failed in the ‘Body’ section of ‘output’. An example of an error could be in case of a counting journal, is that the item is locked, because it’s currently being counted.
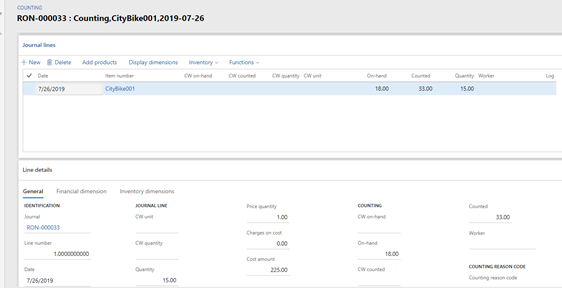
In case the run of the flow is succesful, we can see in Dynamics 365, that the counting journal (header and the line) is created.
Journal header in Dynamics 365
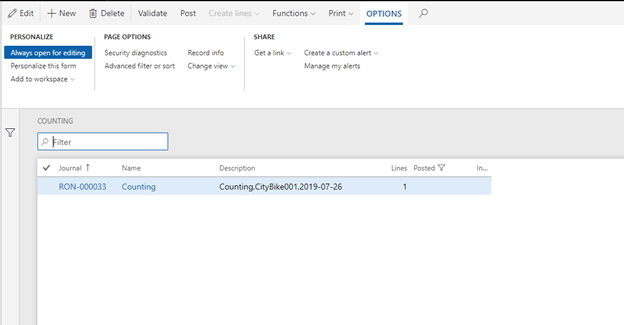
Journal line